Today I’m going to share with you how I make my button box that works both on PC as well as PS3.
For those that are not familiar with button box’s concept. it is a box/panel with buttons for quick access to your most important controls/ switches in-car during your sim racing.
for example: Changing Brake Bias to Forward or Back, setting fuel level during pit , tire, check lapp time. position and Delta Time, Mute, Start Engin, Ignition, speed limiter , pit request etc.

Normally during gameplay you could assign this to your steering wheel, however to give it a bit more depth in realism, just like real race car, that use button box, well… like most race cars except open wheeler, I decided to built one this time.
If you own(ed) DFGT wheel, you know that you can change car settings live during gameplay in Gran Turismo 5 with the RA dial, but using a GT3 RS v2, gave no assignable buttons on the wheel in game except, Start, Select, Circle, and L1, this has been my main reason in PS3, and in PC, I built this for iRacing and rFactor.
On PC, it is pretty easy to assign these buttons to those request/ parameter, it is in game control settings, however in PS3, the only racing game I know of that allows secondary controller to act like controller 1 is Gran Turismo 5. ( if you don’t know: press PS button on that controller and assign it to controller 1 / the controller number of you steering wheel) and this needs only done once after PS3 starts.
The main board I used for this is a Toodles Cthulhu Boards that I purchased a while ago to make a Fight sticks for Street fighter(s) that works with PS3 and PC, now if you have old Fightstick that you are not using any more and they works with both systems feel free to use them as well, make sure you know which solder points are to which button.

The Cthulhu board is very straight forward, there are no solder points, as picture above. it uses a quick release points for all your wire, the boards are not labelled however they come with a very detailed instruction with picture explaining which socket does what.

an old creations, my proud and joy before I discovered Sim Racing.
Luckily I have more than enough of this PCB at my disposal, and I know because all my fight sticks works with PS3 and PC natively,

To build this I use
- An ABS Project box with a dimension of 178 x 122 x 55mm, it is a very very thick and smooth looking box.
- 10 x Momentary buttons (apparently)weather proof. (Select, PS, L1, L2, R1, R2, Triangle, Square, Circle and X)
- 1 x Sanwa Button for Start Button
- a Missile switch to disconnect and power everything in the box (Just for added Look and Security)
- about 2 -3 m of Wire ( feel free to use wire from your CAT 5 Network cable , they work just fine, just make sure they are multi thread core as single core are hard to bend)
- 2 x Momentary 2 way toggle switch ( for directional Pad connection “Left”, Down” Up” right”)
- 1 x A4 sheet of 3M Di-Noc Carbon layer
- Quick disconnects, for connecting cable to those buttons


For the connection point, I made a square hole on the side so the PCB’s USB port stick out flushed on the side of the box for easy disconnection.
I crimped the quick disconnects to the wire as picture above for every single wire. leaving the end bit open for screwing it into the PCB Terminals.
connect your USB cable to your PS3 , pressed the home button and assigned it to controller 1 and THAT’S IT.
At the moment I am still waiting for 2 of the toggle switches to arrive before i complete this project, however during testing, every button works , and works really well.
I have been using this for 2 races in iRacing Last night and I must say they are so much better than finding that key on keyboard.
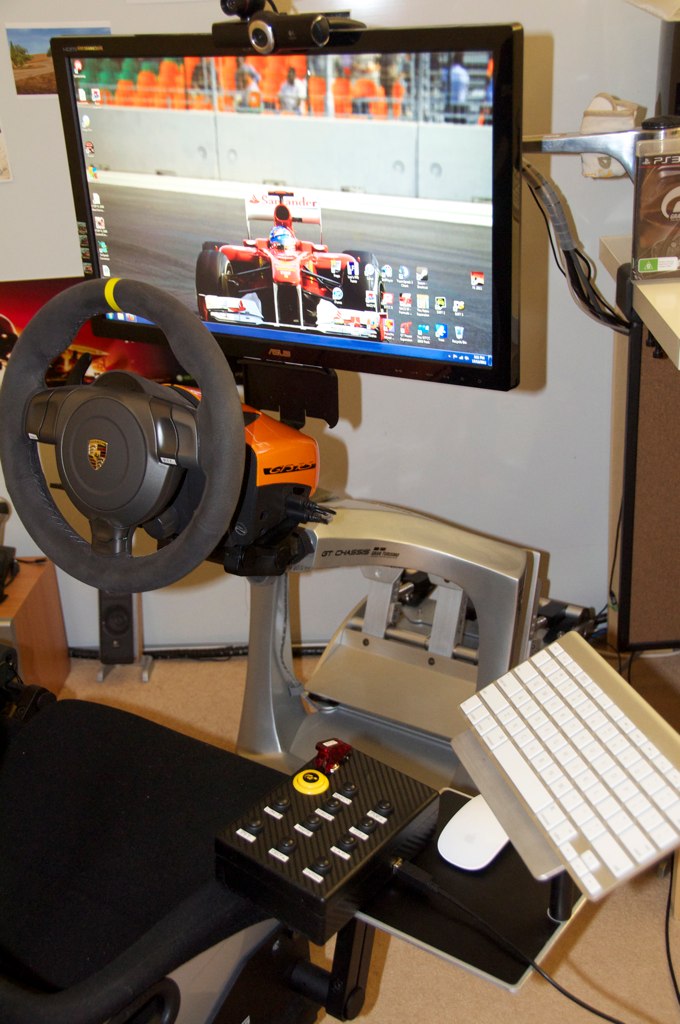
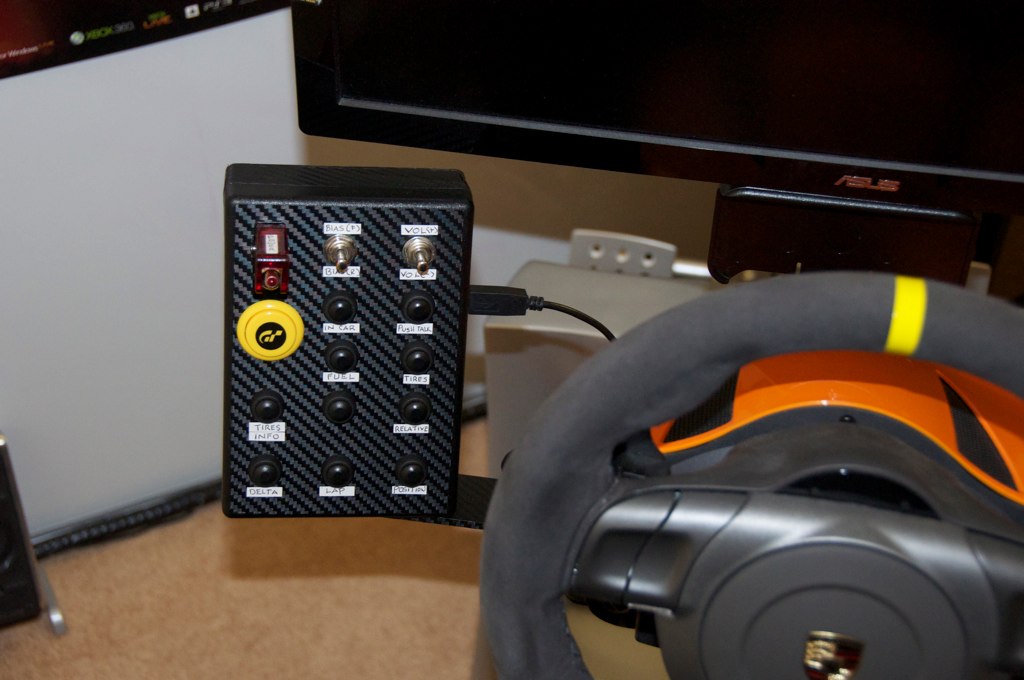
Here are some more pictures of the end result, I will post more picture in action and videos once the Toggle switch arrived. If you enjoy driving games and in to racing sims, a button box is going to be your help from time to time.
enjoy,
Marcus

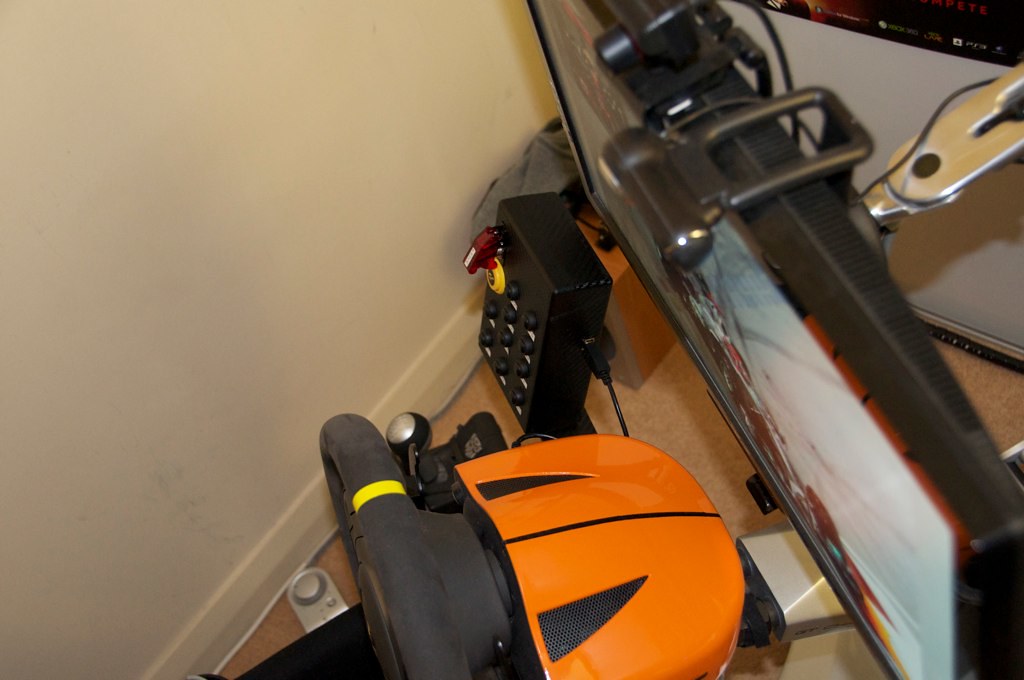
 2 Empty spots on top for toggle switches once they’ve arrived.
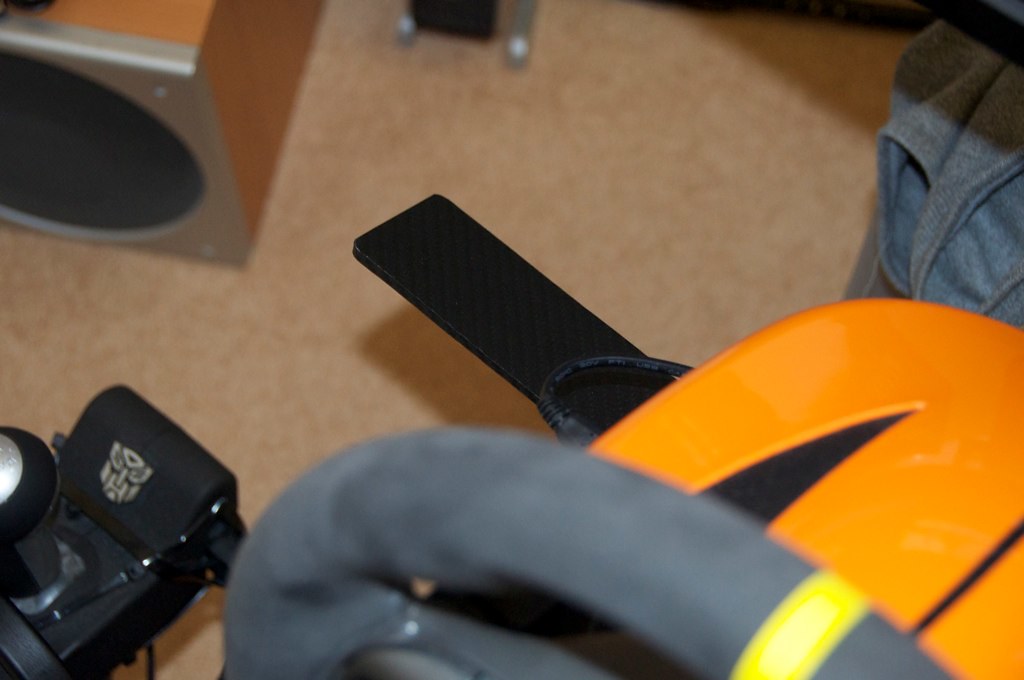
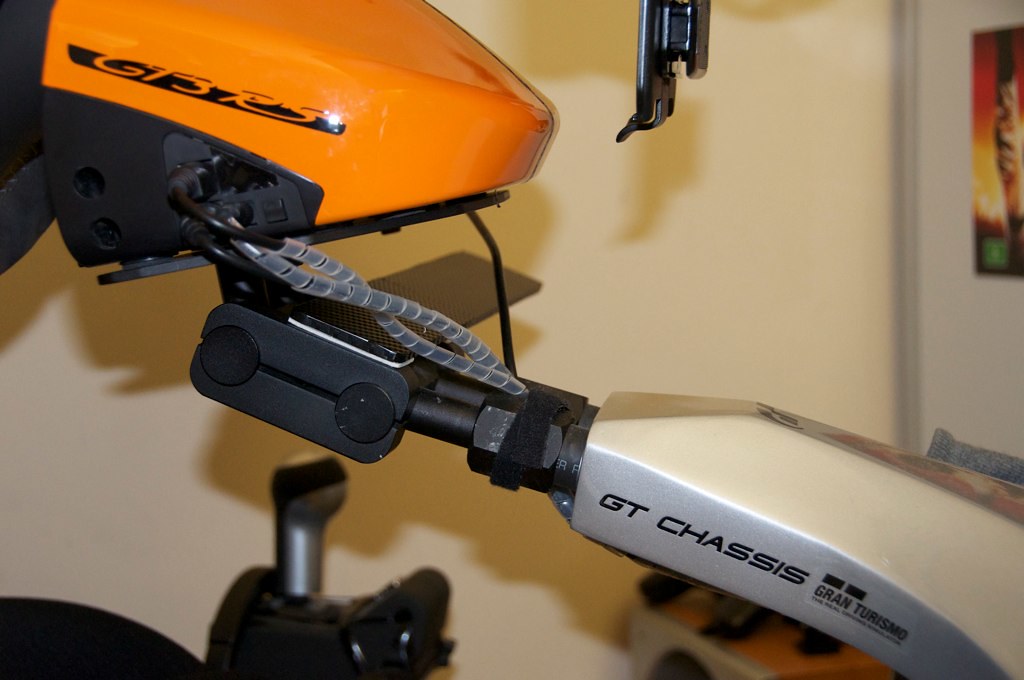
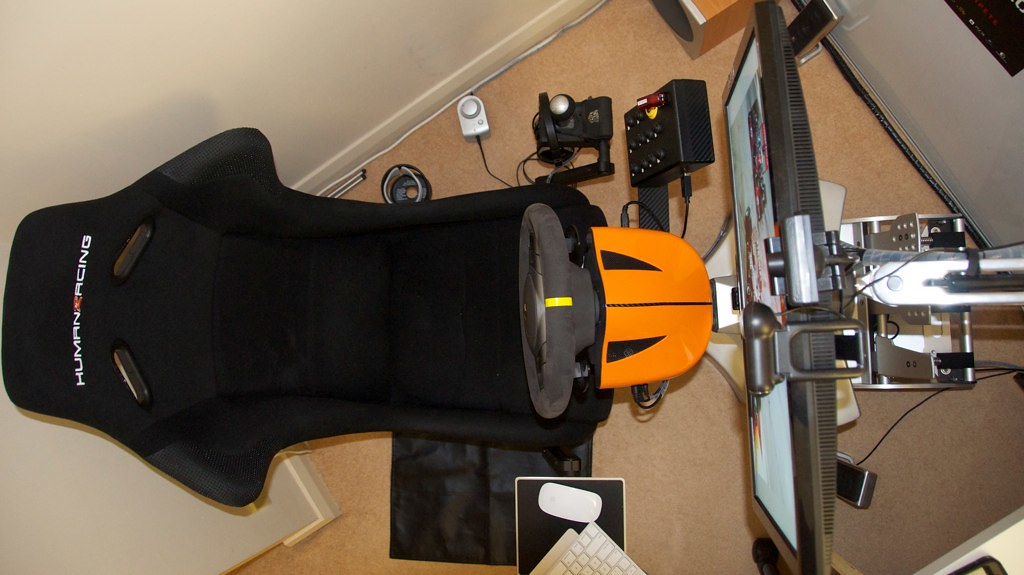
I’ve made Mounting Point for HumanRacing GT Chassis .
Overall time taken for this project is about 2 hours spread over 3 days. It has been a fun process Hope this helps you somehow
No comments:
Post a Comment